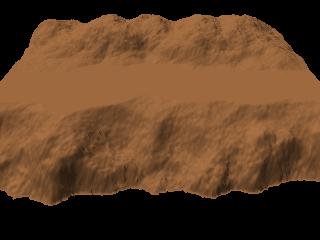
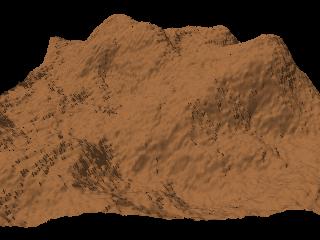
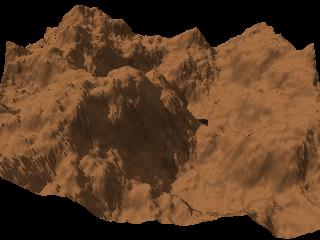
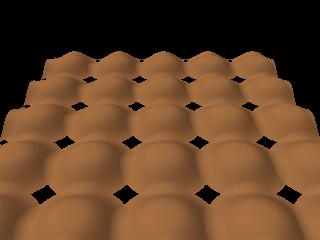
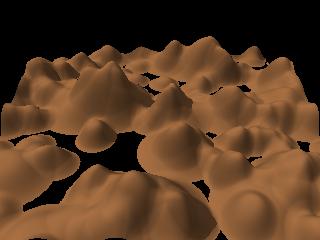
"hills" (in the background) and a"depression" (in the foreground)
 on
your desktop.
on
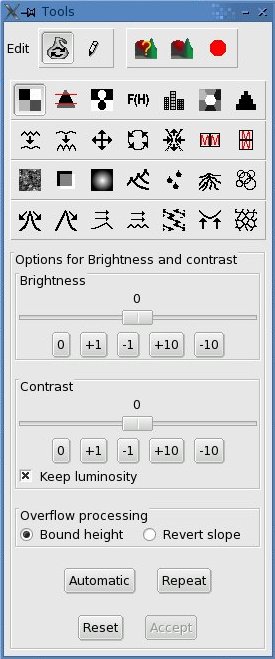
your desktop. | Menus and buttons
bar
(create, open, close, and the like) |
|
|

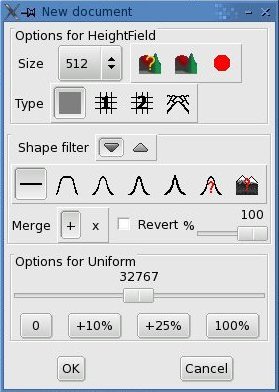
 ->
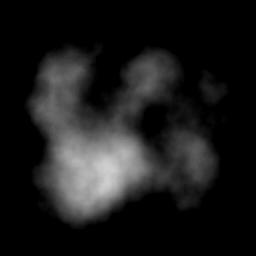
-> ), or as a
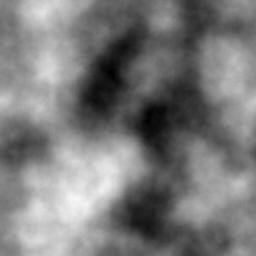
starting point for
adding noise or some kind of warping.
), or as a
starting point for
adding noise or some kind of warping.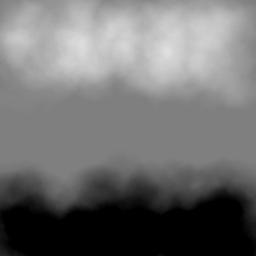


Last revision January the 27th, 2007
Contact: Patrice St-Gelais
Back to the documentation index