Using Povray from Geomorph

The Skyline Challenge


When creating landscapes from height fields, getting a convincing skyline is a challenge. A height field is a finite surface, so the designer must find a way to "fill" the skyline.

A few techniques are presented here. A basic knowledge of Povray in the context of Geomorph is recommended.

1. Using an infinite plane
2. Using haze or fog
3. Moving the camera for hiding the skyline
4. Using other height field(s) as a background

1. Using an infinite plane

The simplest way to deal with the skyline is to use a water plane or a ground plane to fill the infinite view.

A gaussian "shape filter" can be used to make an "island" with the height field. The shape filters are available in the creation dialog or as a tool .

When creating the island, fully applying the shape filter with a "+" (add) merge function removes a lot of terrain. To keep a more significant part of the terrain, your can try to:
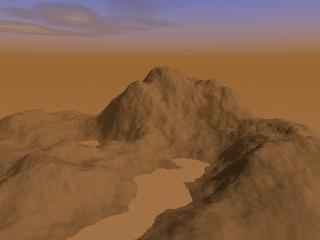
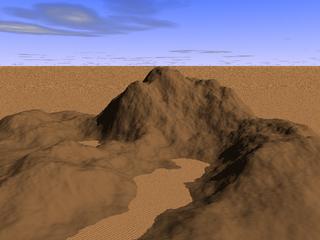
The scene to the left shows the desert.pov scene without the fog. The default "subidivision 2" terrain was used and filtered with the widest gaussian bell, using a "x" merge function.

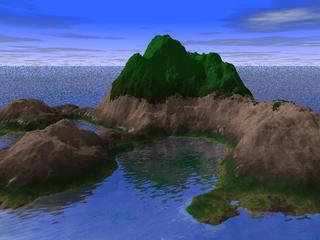
The scene to the right shows the same height field, with the sea_and_rocks.pov scene, without the fog.


2. Using haze or fog

A variation on the infinite plane concept is to add haze or fog.

The scene at left is rendered from desert.pov. The distance parameter of the fog specification was decreased from 10 to 1, the fog_offset and fog_alt parameters were decreased from 0.3 to 0.1.

The scene at right is rendered from sea_and_rocks.pov. The fog parameters were left to their default values, which give a light haze.


3. Moving the camera for hiding the skyline

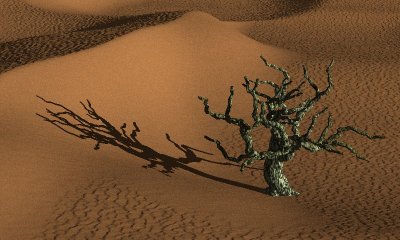
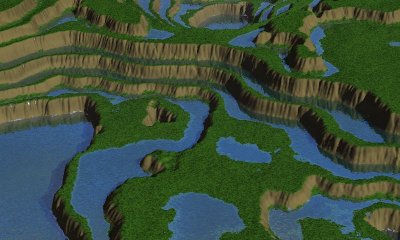
The "Desert with Tree" and "Terraces" examples, in my gallery, were made with this technique. Naturally, the main drawback of this technique is the invisibility of the sky.


To overcome this drawback, the height of the camera can be increased (or the terrain moved down) while the ground plane is removed. The back of the height field falls in an empty sky, like the fake buildings in the making-of of some movies.

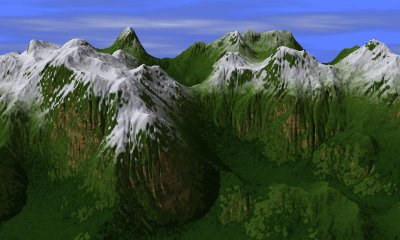
This last technique is not compatible with clouds textures applied directly on the sky sphere. A strong spherical deformation would then be seen. A cloud plane must be used, and it must be rotated on the X and Z axis to follow the camera. For instance, this is how the sky is done for the scene reproduced at right, taken from the gallery :

sky_sphere {pigment {sky_gradient scale <1.0, 1.0, 1.0> } }
// And now the cloud plane:
plane { y,1000
    texture {
        pigment {
                granite
                turbulence 0.5
            octaves 6
         omega 0.1
        lambda 2
                color_map {
                [0.3 rgbt <0,0,0,1>]
                [1.0 rgb 1]
                }
        }
        finish {ambient 0.8 }
        scale 11000
    }
    no_shadow
    hollow
    rotate x*rot_x
}

Remember that rot_x comes from camera.inc, generated from the Geomorph preview at render time.


4. Using other height field(s) as a background

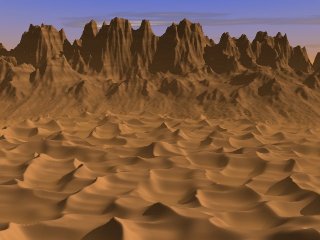
A second height field was used as a background in this new Desert image, taken from my gallery.

Any number of height fields can be used.

Geomorph height fields usually wrap, so they can also be "tiled" to fill the X-Z plane, by repeating the Povray height field directive as required. Notice however that the tiling never looks entirely seamless. The seams can be touched up with an editor like The Gimp.

Only one height field can be placed automatically from the Geomorph preview (in version 0.23, at least). For placing the others, the .pov scene file must be edited. You have to choose which height field would be controlled from the Geomorph preview, the one which is called "test.png". For instance, in desert_new.pov, used for the landscape shown at right, the dunes foreground is controlled from the preview, and a terrain called desert_background.png must be created before rendering the scene:

#declare hf_background =
height_field
{
png "desert_background.png"
   smooth
    scale < 1.0, 0.3, 1.0 >
    translate <-.5, 0.0, -.5>
}
// Now declare the foreground:
#declare hf =
height_field
{
png "test.png"
   smooth
    scale < 1.0, 0.3, 1.0 >
    translate <-.5, 0.0, -.5>
}
(...)
/**********************************************************************************************/

object {hf_background translate y*-0.0075 translate z*0.15 rotate <0,rot_y,0> texture { rock1  } scale 2.2 * <1.0, 1.1, 1.0> }
object {hf translate y*-0.0075 texture {pigment {color 1.2*rock_color } }  }

From version 0.40, Geomorph put the height field names in predefined variables in geomorph.inc:
main_terrain = "test.png" ou le terrain en cours d'édition
water_map = "hf_water.png"
ground_map = "ground_map.png"
background_map = "hf_background.png"
crater_map = "craters.png"

Top

Written in June 2005, modified in January 2007

Contact:    Patrice St-Gelais

Back to the documentation index


SourceForge.net Logo